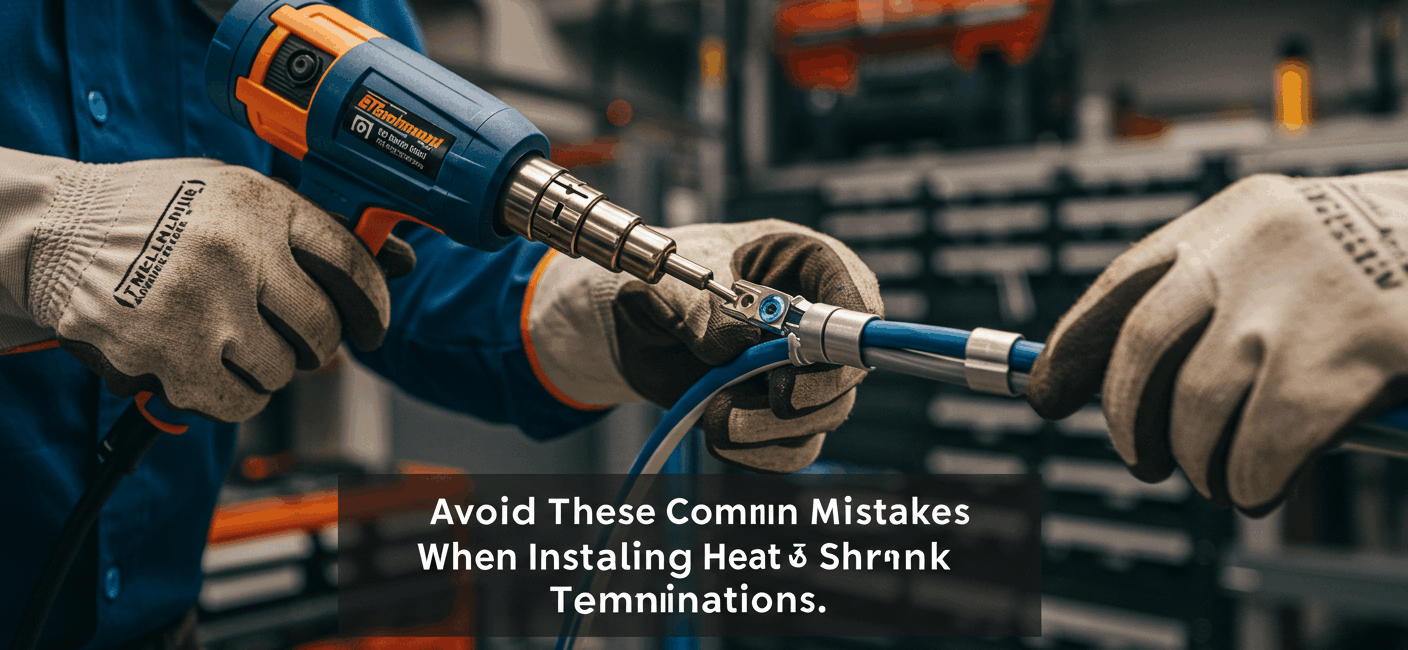
When it comes to cable termination in electrical systems, heat shrink terminations are widely used due to their reliability, durability, and effectiveness in providing insulation and environmental protection. However, the benefits of heat shrink terminations can be significantly compromised if not installed correctly. In this comprehensive guide, we’ll explore the most common mistakes people make when installing heat shrink terminations—and how you can avoid them.
By understanding these pitfalls and following industry best practices, you can ensure safer installations, longer service life, and optimal electrical performance.
What Are Heat Shrink Terminations?
Heat shrink termination are specialized components used to terminate and insulate the ends of power cables, particularly in high-voltage environments. These terminations typically consist of a heat shrinkable tube that, when heated, conforms tightly around the cable, offering a seal against moisture, dust, and contaminants.
How Do They Work?
The basic principle is simple: when heat is applied to the specially designed polymer tubing, it shrinks uniformly to fit snugly around the cable and connector. This forms a tight seal that protects the electrical connection from environmental stress and electrical faults.
Why Proper Installation Is Critical
Incorrect installation of heat shrink terminations can lead to a variety of issues:
- Electrical Failures: Loose or improperly sealed terminations can cause arcing, short circuits, or open circuits.
- Moisture Ingress: Poor sealing allows water or contaminants to penetrate, leading to corrosion.
- Reduced Lifespan: An incorrectly installed termination won’t provide the full protection it’s designed for.
- Safety Hazards: Faulty terminations can pose serious risks including electric shock and fire.
Top 10 Common Mistakes to Avoid
1. Not Reading the Manufacturer’s Instructions
Why It’s a Mistake:
Every manufacturer provides specific guidelines for installing their heat shrink products. Ignoring these can result in improper sizing, application, or heating.
How to Avoid:
Always review the installation instructions thoroughly before starting. This ensures compatibility with the cable and correct installation procedures.
2. Choosing the Wrong Size of Heat Shrink Tubing
Why It’s a Mistake:
Using tubing that is too large won’t shrink tightly around the cable, while one that’s too small may not fit over connectors at all.
How to Avoid:
Select tubing with an appropriate shrink ratio. Measure the cable diameter and ensure the tubing’s expanded and recovered sizes are suitable.
3. Skipping the Cable Preparation Step
Why It’s a Mistake:
Failure to clean and prep the cable can leave behind dirt, oil, or oxidation—hindering proper adhesion and sealing.
How to Avoid:
- Clean the cable with a suitable solvent (like isopropyl alcohol).
- Remove any burrs or sharp edges.
- Ensure the cable is completely dry before applying the shrink.
4. Not Using the Correct Tools
Why It’s a Mistake:
Using lighters or makeshift heat sources can result in uneven shrinking, overheating, or even damaging the insulation.
How to Avoid:
Use an appropriate industrial heat gun with adjustable temperature settings to provide consistent and controlled heat.
5. Uneven or Incomplete Heating
Why It’s a Mistake:
Uneven heating can lead to bubbles, gaps, or partial adhesion—compromising the termination’s integrity.
How to Avoid:
- Rotate the heat gun around the tubing.
- Move the heat source slowly and evenly.
- Allow the tubing to cool naturally before handling.
6. Ignoring Environmental Contaminants
Why It’s a Mistake:
Installing in dusty, wet, or oily environments allows contaminants to get trapped under the tubing—leading to long-term failure.
How to Avoid:
Always install in a clean, dry workspace. Use environmental barriers or temporary covers if working outdoors.
7. Improper Grounding and Shielding
Why It’s a Mistake:
Incorrect grounding or shield continuity can lead to signal interference, faults, or poor performance in high-voltage systems.
How to Avoid:
- Follow grounding and shielding guidelines strictly.
- Ensure mechanical and electrical continuity is maintained.
8. Incorrect Placement of the Tubing
Why It’s a Mistake:
Misplacing the tubing leads to poor coverage or gaps in protection, leaving parts of the cable exposed.
How to Avoid:
Dry fit the tubing before heating to confirm correct alignment. Mark the ideal position beforehand if necessary.
9. Rushing the Installation Process
Why It’s a Mistake:
Impatience can result in skipping critical steps like proper cleaning, positioning, or allowing for full shrinkage.
How to Avoid:
Allocate sufficient time for installation. Don’t try to shortcut the process—it will cost more in repairs later.
10. Not Testing After Installation
Why It’s a Mistake:
Assuming everything works fine after installation is risky. Undetected issues may cause later failure.
How to Avoid:
Always conduct electrical tests (insulation resistance, continuity) and visual inspections after termination.
Pro Tips for a Successful Heat Shrink Termination
- Use high-quality tubing: Cheaper materials may not shrink uniformly or may degrade over time.
- Label cables beforehand: Avoid labeling on top of heat shrink—it can peel or distort.
- Work in well-lit areas: This helps spot gaps, bubbles, or misalignments early.
- Practice on scrap cable: For first-timers or new tools, a test run can prevent real-world errors.
- Check ambient temperature: Cold environments may require pre-heating the cable before shrink application.
Tools and Materials Checklist
Before you begin your installation, make sure you have the following:
- Industrial heat gun (with temperature control)
- Appropriately sized heat shrink tubing
- Cable prep tools (strippers, cutters, deburring tools)
- Isopropyl alcohol wipes
- Gloves and safety gear
- Cable identification markers
- Electrical testing equipment (megohmmeter, multimeter)
FAQs on Heat Shrink Terminations
Q1: Can I use a lighter instead of a heat gun?
A: It’s strongly discouraged. A lighter provides uneven and uncontrolled heat, which can damage the tubing or cable insulation.
Q2: How do I know if the tubing has shrunk enough?
A: The tubing should fit snugly around the cable with no visible gaps or bubbles. Most tubing also changes texture or gloss when fully shrunk.
Q3: What is the typical shrink ratio for tubing?
A: Common ratios are 2:1, 3:1, and 4:1. The higher the ratio, the more versatile the tubing for varied cable sizes.
Q4: How long do heat shrink terminations last?
A: When installed properly, they can last 20+ years depending on environmental and electrical conditions.
Final Thoughts
Properly installed heat shrink terminations are critical for ensuring safe, durable, and effective electrical systems—especially in demanding industrial or outdoor environments. By avoiding the common mistakes outlined above and sticking to best practices, you not only protect your equipment and cables but also avoid costly failures and downtime. Take your time, follow the guidelines, and always prioritize safety. With the right tools, materials, and mindset, a successful heat shrink termination is well within your reach.